How to set Fur direction and length
How to set Fur direction and length
I’m Alex from the Animaze team, and in this step-by-step guide, I will demonstrate the process of setting fur growth direction info, and fur length info specifically for Animaze fur shading, when creating the source data in Autodesk Maya. You can use as a reference this avatar.
The same principles can be applied in Blender or any other 3D editing package.
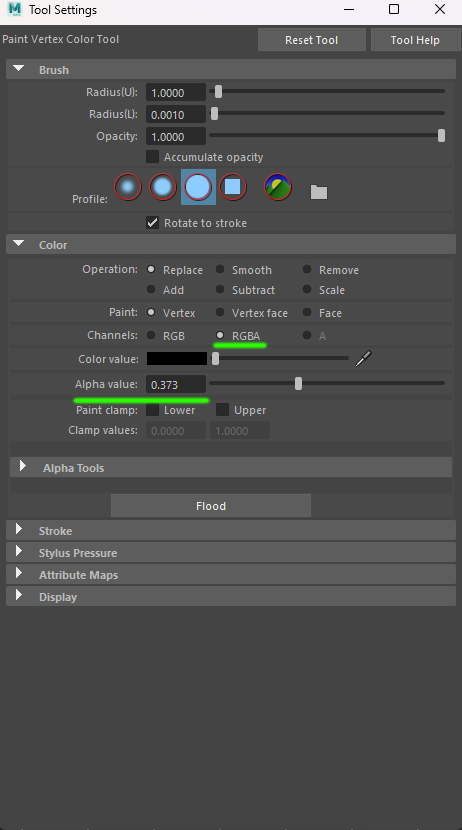
To set the fur length information you will need to paint it in the model vertex color, specifically in the alpha channel of the vertex color.
1. Go to “Mesh Display” select the “Paint Vertex Color Tool” and start painting the model.
1.1 Note that the maximum fur length is represented by a value of 1 in the alpha channel, while the minimum length, which indicates no fur, is represented by a value of 0.
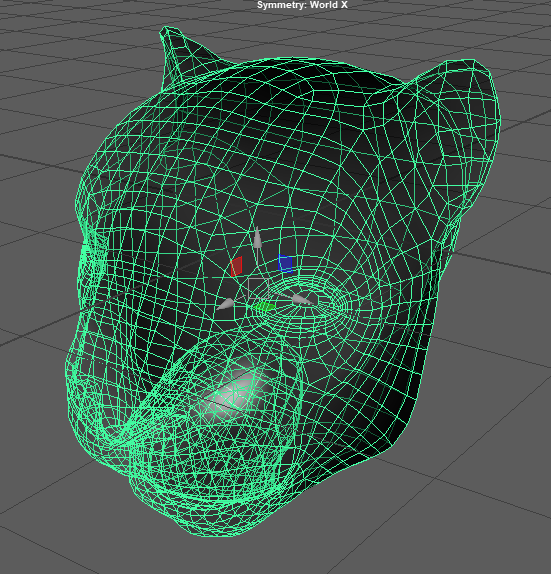
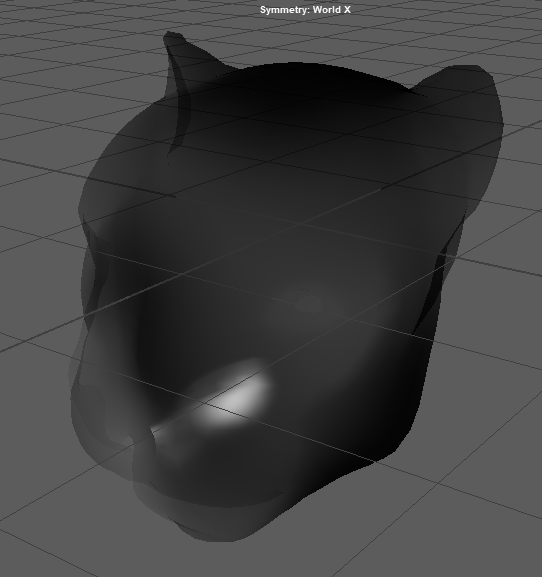
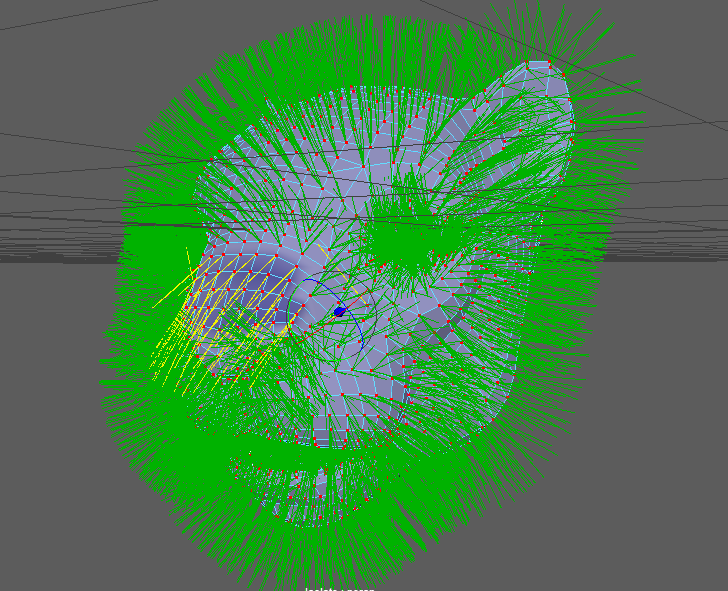
1.2 After you are done painting the final result should look similar to this(see the image below).
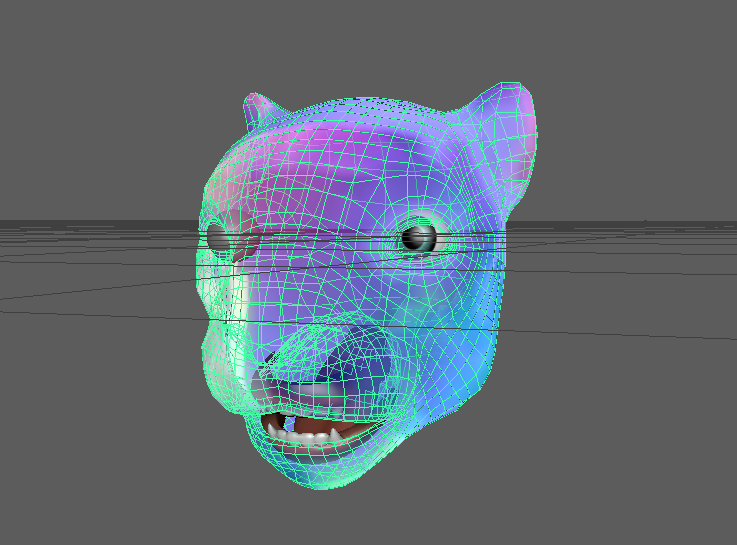
Once the length information is in the alpha channel of the vertex color, it is time to move on to the fur direction, which will be saved in the vertex RGB.
To set the direction of the fur growth, you will need to proceed with the following steps:
-
Duplicate the mesh and, on this duplicate temporary mesh, alter the vertex's normal direction to point in the direction of the desired fur growth, utilizing the Vertex Normal Edit Tool or equivalent.
1.1. Access the Vertex Normal Edit Tool within the Mesh Display panel.
-
Select the vertices and align their normal to match the desired fur growth direction.
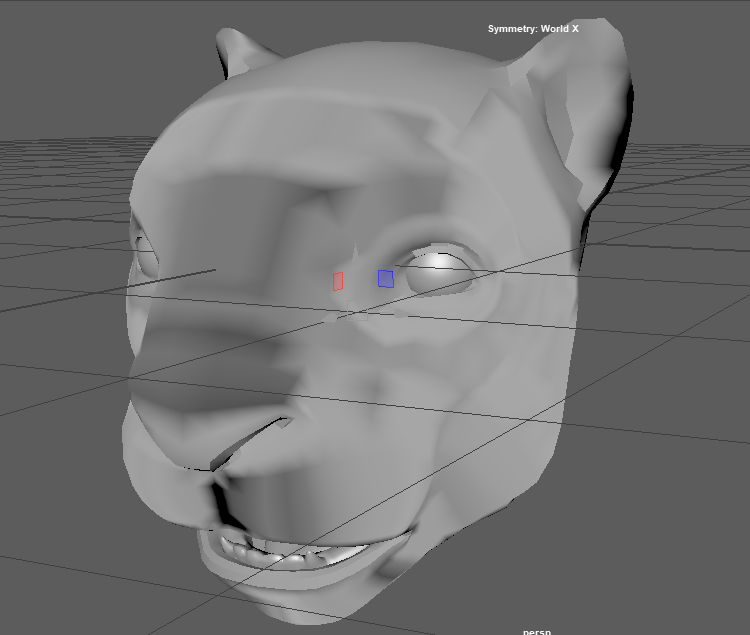
2.1. After completing these adjustments on the alternate mesh, please remember that the lighting on this alternate mesh in Maya will look strange, but this is not something to be worried about.
-
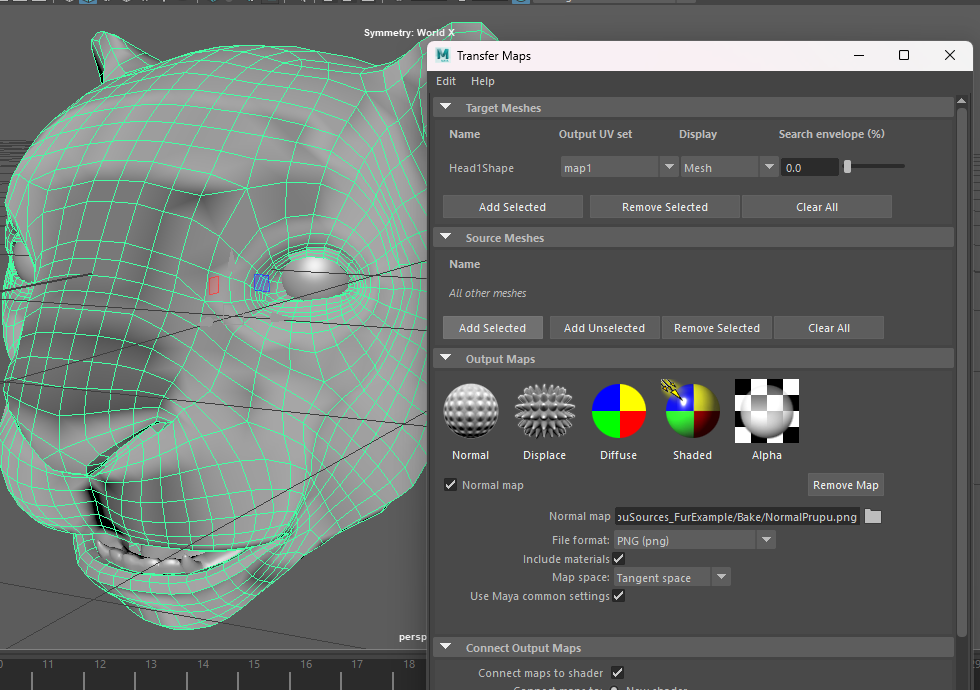
Next, we must transfer this newly created information from the normal info of the temporary mesh to the vertex color channels of the original mesh. There are multiple ways of doing that, we will here do so via a texture.
Utilize the alternate mesh with its modified normals to generate a tangent space normal map texture. Set the model with the adjusted vertex normals as the source mesh, while the original mesh will serve as the target mesh.
-
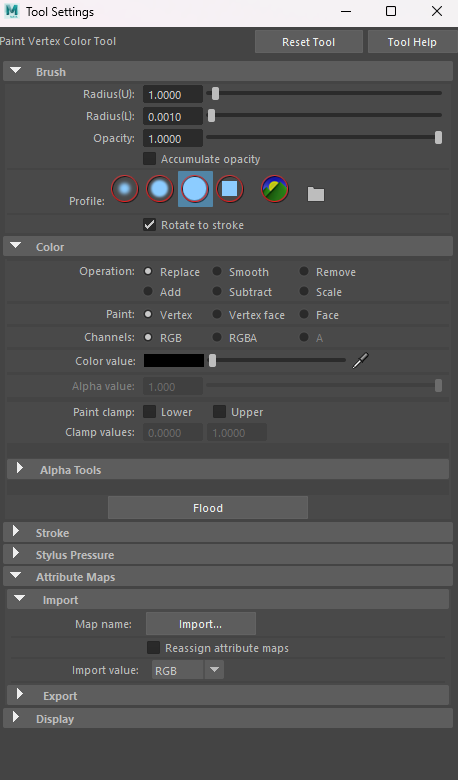
Upon completing the bake operation, select the original model and navigate to the Paint Vertex Color Tool. Choose "Attributed Base" and import the generated texture.
4.1. Select the normal map you have generated
4.2. The outcome, when inspecting the RGB vertex color channels of the original mesh, should resemble the image below.
You now have proper data in the source mesh RGBA channels.
Export the avatar and import it into the Animaze editor for further processing.
-
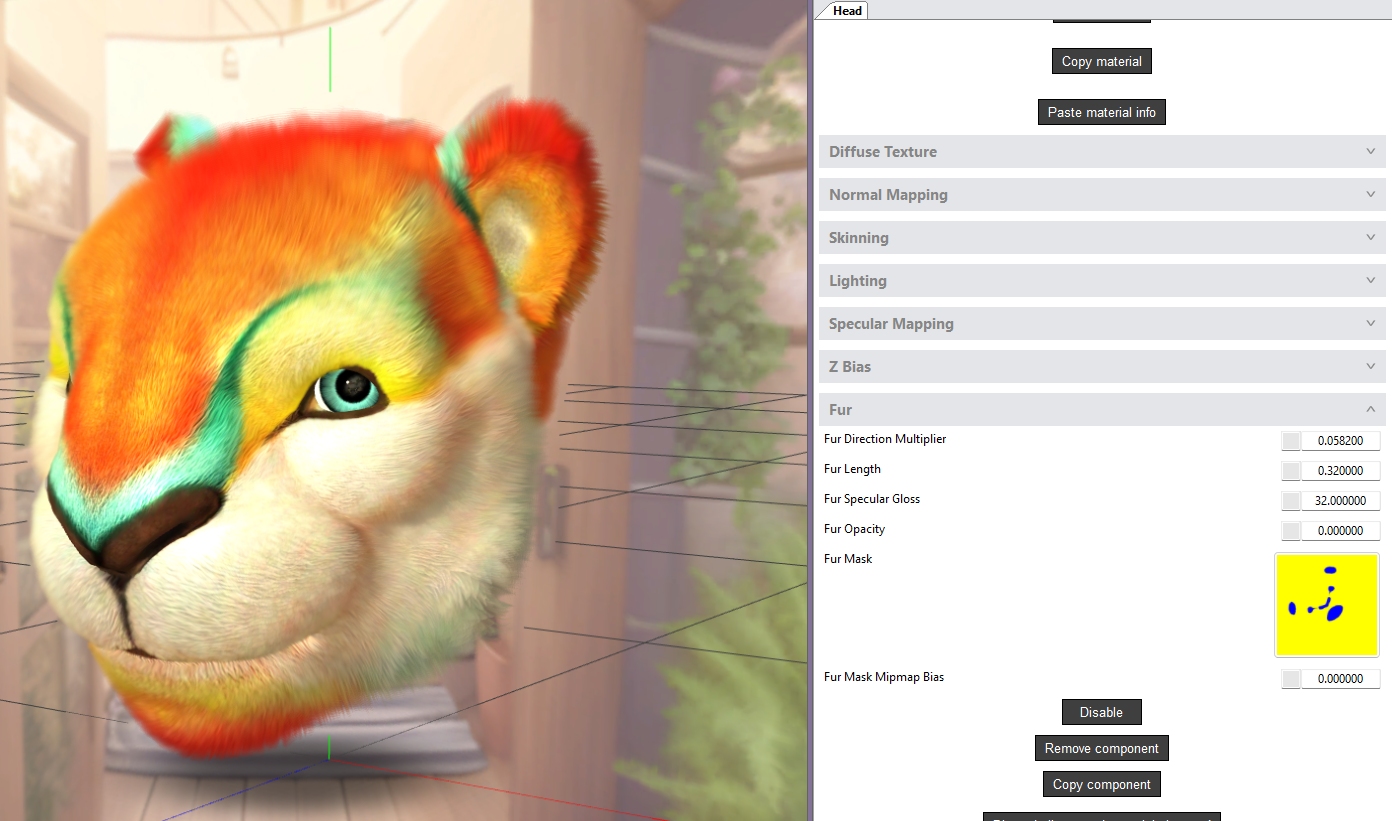
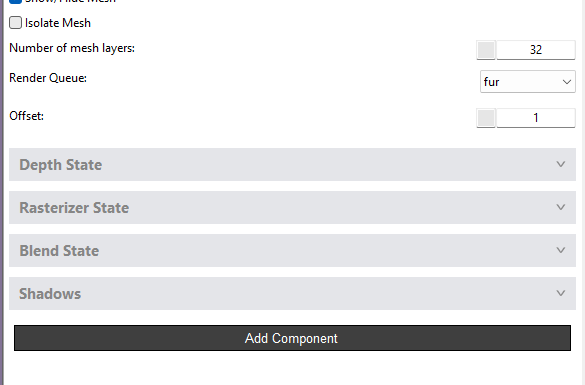
In the Animaze Editor, import the new mesh, then navigate to "Add Component" and choose "Fur."

5.1. Within the Render Queue, select the fur component and set the number of layers.
5.2. In the fur component Import fur mask tex. Read bore about it in its separate tutorial section.

5.3. Set the Maximum fur length.
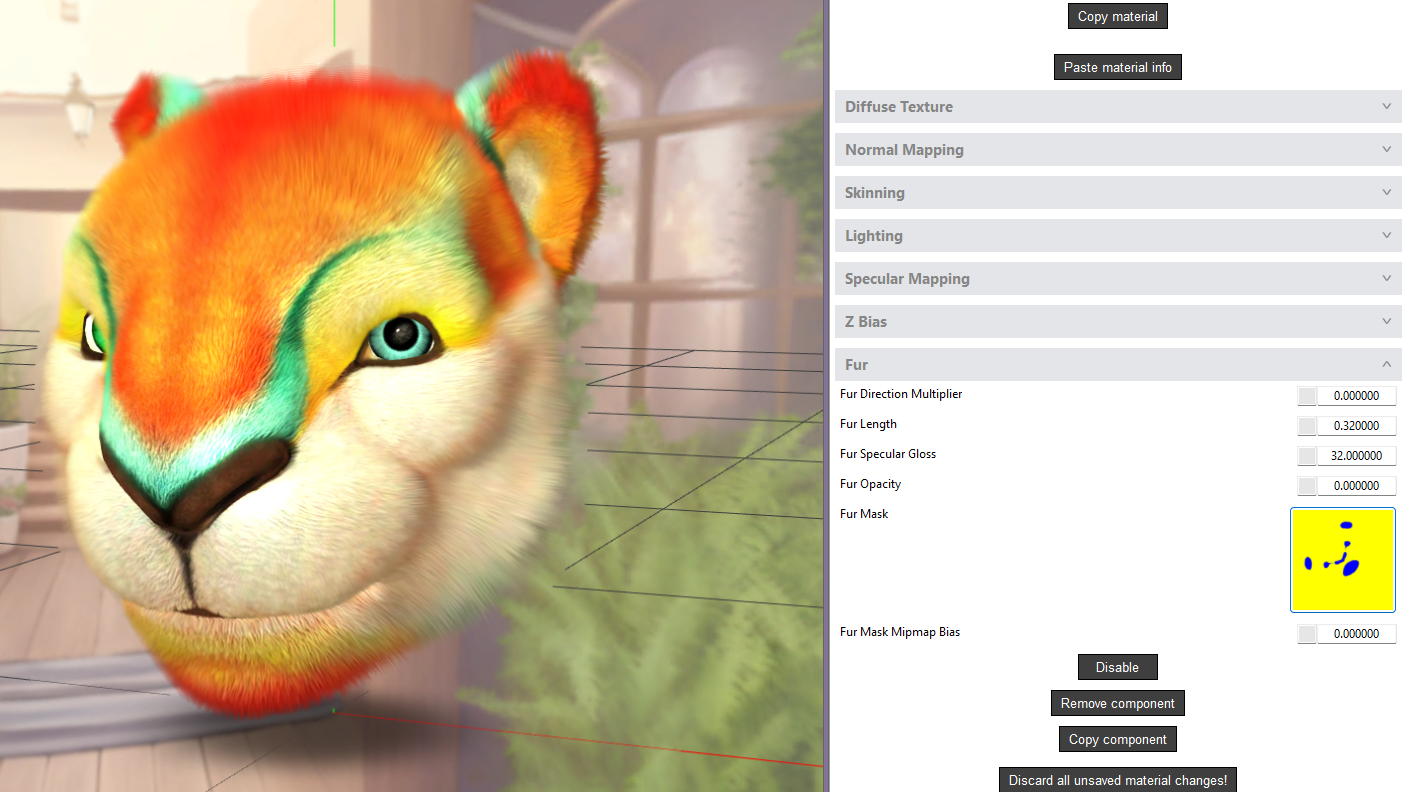
5.4. If needed adjust the fur direction scaling by modifying the numeric value labeled "Fur Direction Multiplier." If the fur direction is reversed, you can flip it by adjusting the numeric value of the Fur Direction Multiplier from a negative value to a positive value or vice-versa. Select either a positive or negative value as needed for it to look right.