Visual Face Tracker: Top Shelf Experience
The first step for an accurate face tracking experience is the one-button calibration process. You can read about it here:
If you do this calibration process, you will have a quick starting point, that will work okay for a casual avatar session; however, if you stop here you will not have the absolute best quality that Animaze can produce. You can look at the calibration as a quick pair of “training wheels” if using motion capture was like learning to ride a bike.
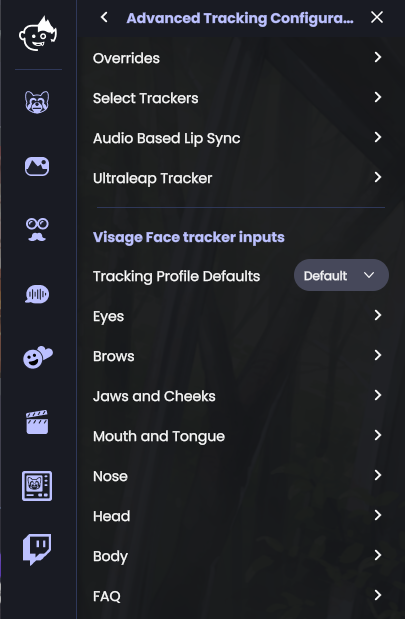
To move beyond the “training wheels” calibration, you can further fine-tune the individual avatar response of each aspect of your face using the Advanced Tracking Configuration. This way you can tune responsiveness, do away with jitter, you can set up procedural overrides that take over when tracking is not good enough, and many other aspects that the auto-calibration might not deal with.
All these settings, once tuned, can be saved to disk, to a personalized tracking configuration profile file that you can then store, load, and use, instead of calibrating back to default each time you start the app.
Note: If you have gone through the process of creating one or more custom tracking profiles and are happy with them, do not overwrite that with automated values, by doing a new calibration. Simply load the created profiles from the disk and use them as they are, without calibrating again.
You can also think about it this way: If the home mo-cap is coffee, then the one-button calibration is the run-of-the-mil diner coffee, often serviceable in a rush but nothing to write home about. A hand-tuned profile, bespoke for your set-up, is the specialty coffee. After you've built your specialty coffee cup just as you like it, you don't want to pour over it the dinner jug coffee variety, by pressing the one button to calibrate again.
If something on your physical set-up has changed to a significant degree: camera position ( generally this should always be at your eye level or slightly above, never below), general lighting in the room, or there’s a new user, then building a new custom tracking profile for that situation makes sense. It may even make sense to keep separate profiles for different times of day, depending on how much the light varies in your recording room, morning vs evening, day vs night.
We recommend you do this first with a Holotech original avatar, and not a custom avatar, as sometimes custom avatars don't have the full palette of expressions built-in correctly. After you got a good grasp of what's achievable, then you can move over to a custom avatar and further adjust there.
Note: If you are using the iPhone tracking bridge, and not a regular RGB camera, and if you are switching the iPhone tracking from its normal mode to “Direct Mapping” mode, then, in that particular set-up, the expressions will be directly mapped from the iPhone tracker, without custom ranges or adjustments.

